From quality Gates solutions to repair shop troubleshooting, we have the essential product and part care information you need. Our automotive experts have taken some of our most frequently asked questions around automotive products and product applications for your vehicle engine systems, and explained them thoroughly in a comprehensive buying guide.
You can navigate this guide by simply clicking your application or area of interest.
If you still have questions, or need help selecting the optimal aftermarket solution for your application, contact Gates customer service team.
Automotive
Looking up vehicle parts by VIN.
You can easily search Gates parts by vehicle make and model and by vehicle VIN. You can also download our free NaviGates mobile app, which allows technicians to scan vehicle VINs with your smartphone and instantly find OE exact and OE quality Gates solutions.
Solution Kits
About Gates Solution Kits.
We develop our solution kits as a direct result of extensive field research, partnerships with top OEMs, and superior engineering efforts. While the contents of each solution kit will vary from application to application, each kit includes all the parts and components required to repair common problems with certain vehicles and improve the Original Equipment design.
Browse our solution kits.
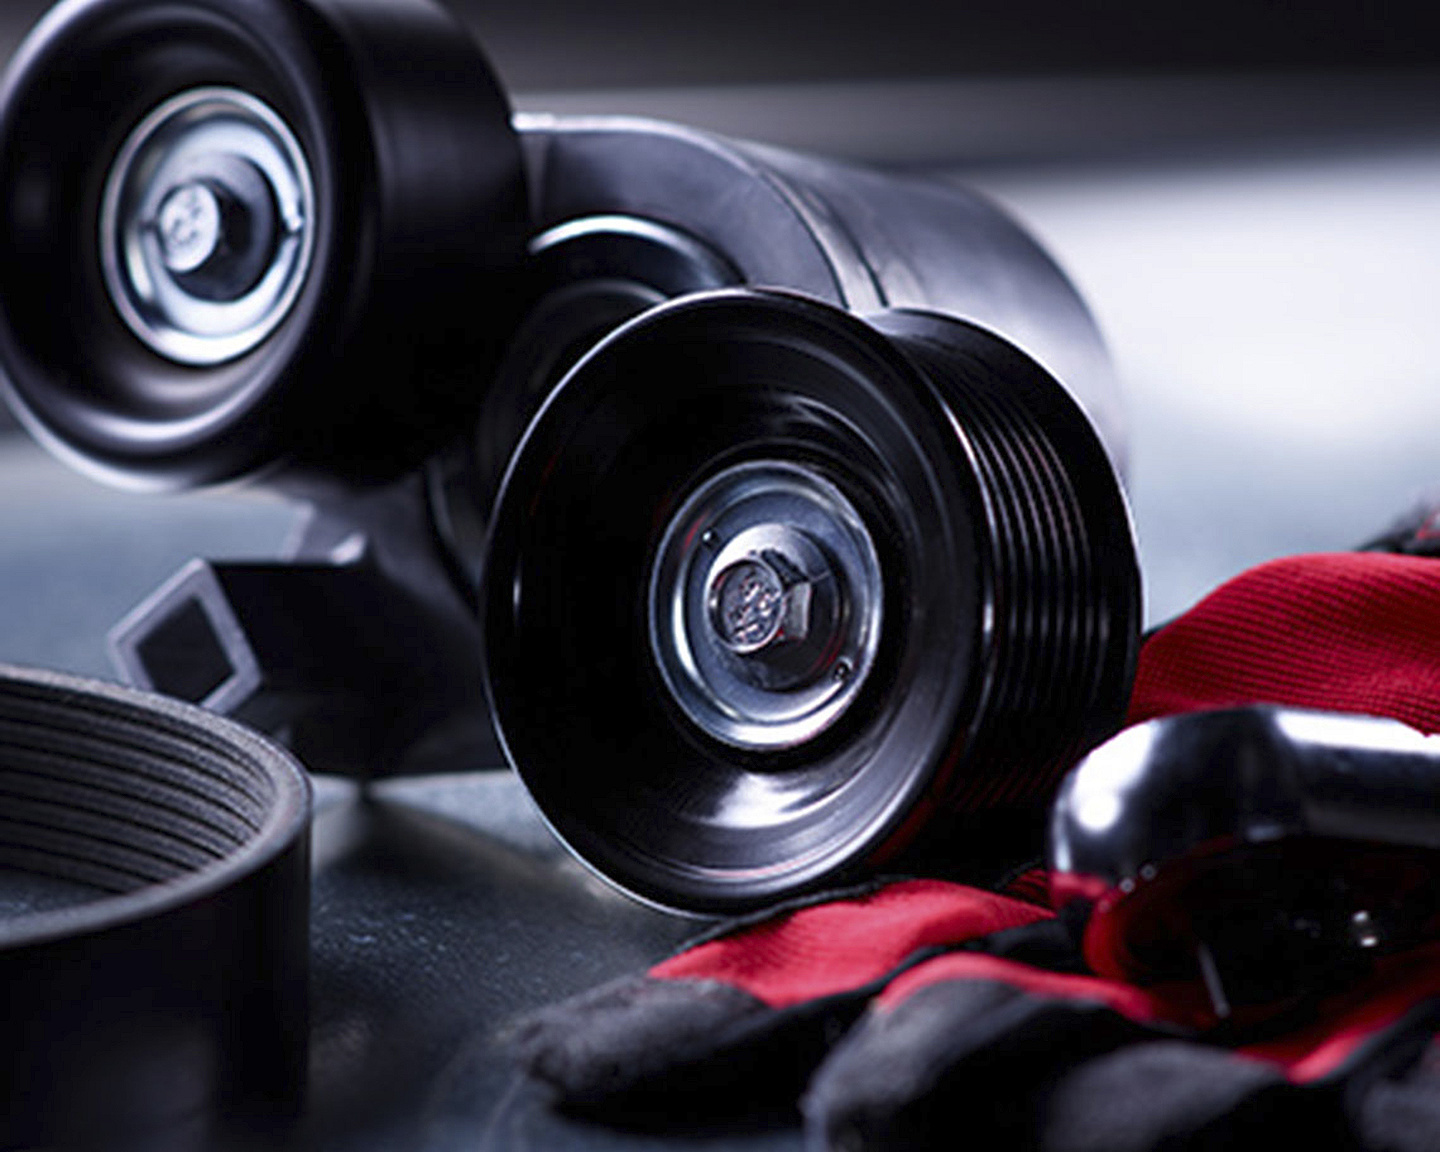
Accessory Belt Drive System
When to check and change your serpentine belt, tensioner, and pulleys.
We recommend inspecting all serpentine drive system components, timing system components, and cooling system components at 60,000 miles, and replacing them by 90,000 miles or at the manufacturer’s recommended replacement interval. Heat and contaminants are the top two factors that will greatly diminish belt (and hose) life, and all system components wear at about the same rate.
Automatic belt tensioner overview.
An automatic belt tensioner is a metal, spring-loaded device that attaches to the engine. Unlike manual tensioners, automatic belt tensioner maintain proper tension throughout the belt life, no adjustment is necessary.
Using automatic belt tensioners that “look the same”.
We never condone matching tensioners based on looks. There are critical components within the tensioner that make it work properly in the drive system. You may find a tensioner that looks physically close, however, the internal workings of the tensioner could be vastly different. Bearing design, damping mechanism, and spring rates are examples of components that are critical to the tensioner performance, and all these components are manufactured to match the OE part and designed for a specific drive system.
Accessory belt drive overview.
Belts come in two different types: the traditional V-belt and the serpentine belt, but almost all cars made after 1990 utilize serpentine belts. Although the exact manufacturing process may vary from product to product, an accessory drive belt (sometimes called a fan belt, drive belt, or serpentine belt) is generally made by sandwiching high strength tensile cords between multiple layers of specially formulated rubber compounds. We use only the highest quality rubber compounds and materials available, and the specific formula for combining all these elements is a highly technical and skilled process.
The key to remember is that each drive belt is matched to the pulleys for a specific drive, so you cannot replace the belt with any old belt off the shelf. It is imperative to use the belt designed for your specific OE requirements and application.
Causes of automotive belt wear.
As a belt wears, it will no longer be able to efficiently transmit power to the accessories. Over time, even the best belt can break due to high under hood temperatures, contaminants, and constant bending as the belt travels around different system components. Failure of other engine components can also cause your belt to break. When this happens, your car’s accessories stop working and serious damage to your engine may occur if the engine is not shut off immediately.
Squeals on a newly installed serpentine belt.
The exact cause of belt noise is often difficult to determine. However, we recommend looking at improper tension and/or improper alignment.
Using belts close, but not exactly, to size.
The answer is not very simple; however, we always recommend using proper belt sizes. To find the correct belt, know whether you have a manual tensioner or an automatic tensioner, and know what type of belt is used in the vehicle system.
V-Belt versus Micro-V: If we have the belt listed under an application, it is sized specifically for that application. Any belt size alterations in the drive system can lead to noise, premature wear, and possible system damage. If you are unsure of the correct belt type or size, please contact the Gates Technical Department at 303-744-5651 or [email protected].
Using Gates belts on an aircraft.
While our solutions cover a range of heavy duty applications, we never have, and never will, recommend using any of our products on an aircraft applications. Our belts and hoses are not designed, manufactured, or tested for use on aircraft applications. Please keep safety as your utmost priority, and only use Gates products that are engineered for your specific application.
About our Stretch Fit belts.
Our stretch fit belts always have an “SF” at the end of the part number, and generally need a tool for installation. Installation instructions come on the inside of the belt sleeve, and will be tailored to your specific application.
Our stretch fit belts are highly engineered to match the OE exactly and utilize our patented TwistLock™ cord technology, which self-tensions on the drive and maintains proper tension throughout its working life. It’s also important to note that a stretch fit belt generally will not have a tensioner in the drive. Therefore, while a stretch fit belt may look similar to a standard Micro-V belt, they are NOT the same, and cannot be interchanged.
Finding vehicle routing diagram and products pictures.
We have both vehicle system routing diagrams and product pictures on our PartView™ System, and on our free NaviGates mobile app.
Removing your original decoupler pulley with the 91024 ADP Tool Kit.
While the 91024 ADP Tool Kit tools can easily remove the alternator and often fits perfectly on the inner part of the pulley, the tool kit does not come with a universal tool to hold the rotor shaft stationary while removing the vehicle decoupler pulley. While we’re always striving to find a solution, there are numerous OE alternator manufacturers, and each utilizes slightly different internal component designs. Therefore, it is impossible to know exactly which tool to use to hold the rotor shaft stationary on every single alternator, and thus, may not be available with your 91024 ADP Tool Kit. That being said, our ADP Tool Kit provides many different options to hold the alternator internal rotor stationary.
To determine if your vehicle is compatible, contact Gates customer service team.
For some models of vintage, non-supercharged motors, the serpentine belt may slip off when it rains.
Beyond replacing the system components and checking pulleys, you may want to look at belt length. Ensuring proper belt length will also determine if proper tension is being applied. The tensioner assembly has a working range indicator, which means you’ll be able to verify the markings are within the tensioner's operating parameters.
The next area to analyze will be alignment within the drive. For older vehicles, the pulley configuration may be unique, and technicians may miss backside pulleys where proper alignment is critical.
Timing System
Timing belt overview.
Timing belts are flat rubber belts with teeth, and can be used in either interference or free-running engines. Timing belts maintain synchronization between the crankshaft and camshafts to ensure smooth and efficient operation.
Difference between interference and free-running engines.
In an interference engine, synchronization between the crankshaft and camshafts is essential. Synchronization loss in an interference engine may cause extensive damage to valves, pistons, and/or heads, while with a free free-running engine, it is highly unlikely that synchronization loss will cause any internal engine damage.
Timing belts vs. timing chains.
Some cars still use a timing chain. However, timing belts are lighter, quieter, and more efficient — plus they’re easier to install. You can reference our interactive electronic catalog to find out if your vehicle has a timing belt, and whether it contains an interference or free-running engine.
When your timing belt breaks.
You’ll know when your timing belt breaks, because your engine will stop instantly. Once this occurs, all accessories stop functioning as well. A broken timing belt may cause a dangerous situation, as you will most likely lose all steering assist, hydraulic/vacuum assist to your braking system, and critical engine components may have sustained severe damage.
Avoiding a broken timing belt.
We recommend having a professional technician inspect all timing system components, in addition to all serpentine system and cooling system components, by 60,000 miles, and replacing them by 90,000 miles or at the manufacturer’s recommended replacement interval. And remember, under no circumstances should you ever exceed your vehicle’s specified replacement interval.
Causes of premature timing belt failure.
Premature timing belt failure is commonly caused by improper tension, contamination, and component failure (i.e. the water pump, tensioner, and/or idlers). Remember, a timing belt may appear to be in good condition, but might actually be on the verge of failing. Additionally, external factors such as stop-and-go driving and towing may adversely affect the overall life of the belt and bearings in the timing belt system.
Sounds to listen for in your timing system.
Any unusual noises emitting from the front of the engine should be cause for concern. Have your professional technician inspect any unusual sounds immediately.
Replacing your timing belt.
Replacing a timing belt is a highly specialized process and should only be performed by a professional technician. Additionally, while some belts may look alike, they definitely are not interchangeable, and it’s extremely important to use the correct belt for your vehicle. As all system components are consumable and wear at the same time as the belt, we always recommend a system wide replacement at the time of your belt repair. Be sure to have your professional technician replace all system components, including the water pump, tensioner, and any idler pulleys. Remember, the timing belt’s sole job is to transmit power, and if one of the other components in the system is failing, then the belt may prematurely fail, even if it is new.
Timing belt service life.
As global leader in timing belts, we’re confident that we build the highest quality timing belts in the industry, and our belts are engineered to match the original equipment specifications. However, the real answer lies within the drive system. It is not always the belt you have to worry about; other components such as the timing belt tensioner, idler pulleys and water pump could be on the verge of failing. Therefore, we always recommend inspecting all components in the timing system, serpentine system, and cooling system at 60,000 miles, and replacing them by 90,000 miles or at the manufacturer’s recommended replacement interval.
HSN (Highly Saturated Nitrile) belts overview.
HSN belts are made with exceptionally strong cords that give this belt it’s durability, but doesn’t mean all HSN belts are created equal. Just as timing belts are unique to their application, so are the materials. The vehicle manufacturer selects the optimal timing belt materials, which are also dependent on the individual drive. In some cases, standard materials are selected as they provide sufficient durability. However, as engines have become more powerful and belt replacement intervals have increased, special materials became necessary.
There are three to four components that make up a timing belt. The tooth side cover (jacket), the tensile members (cords), rubber compounds, and sometimes a top (backside) fabric. Gates takes all the guesswork out of choosing the proper materials, as we design our aftermarket timing belts for an exact OE match. Therefore, you should only use the recommended belt for your vehicle. Remember, you cannot match timing belts by dimensions, tooth count, or tooth profiles - as your required timing belt specifications are much more complex.
Cleaning and reusing contaminated belts.
Our answer is simple: Never attempt to clean and reuse a contaminated belt. Contaminants like oil, antifreeze, power steering fluid, and fuel can quickly break down the chemical composition of the belt, which includes weakening the adhesion layers of the belt. You should always replace a contaminated belt with a new belt after identifying and repairing the source of the contamination.
Using a timing belt only 1 or 2 teeth shorter.
We never recommend trying to find a belt shorter for a specific application. The potential for catastrophic engine damage is great; therefore, we can only recommend using the belt we have identified, built to exact OE specifications, and recommend specifically for your application.
Cooling System
Signs your water pump is failing.
Often times, the water pump will start to “weep” or start leaking coolant once it begins to fail, so we recommend continually checking for coolant leaks and listen for any unusual noises coming from the front of the engine. If you see coolant leaking or hear unusual noises, have a professional technician inspect your car immediately. Serious engine complications may occur if a faulty water pump is left unchecked. Additionally, we always recommend having the water pump inspected and replaced with the replacement of your timing belt.
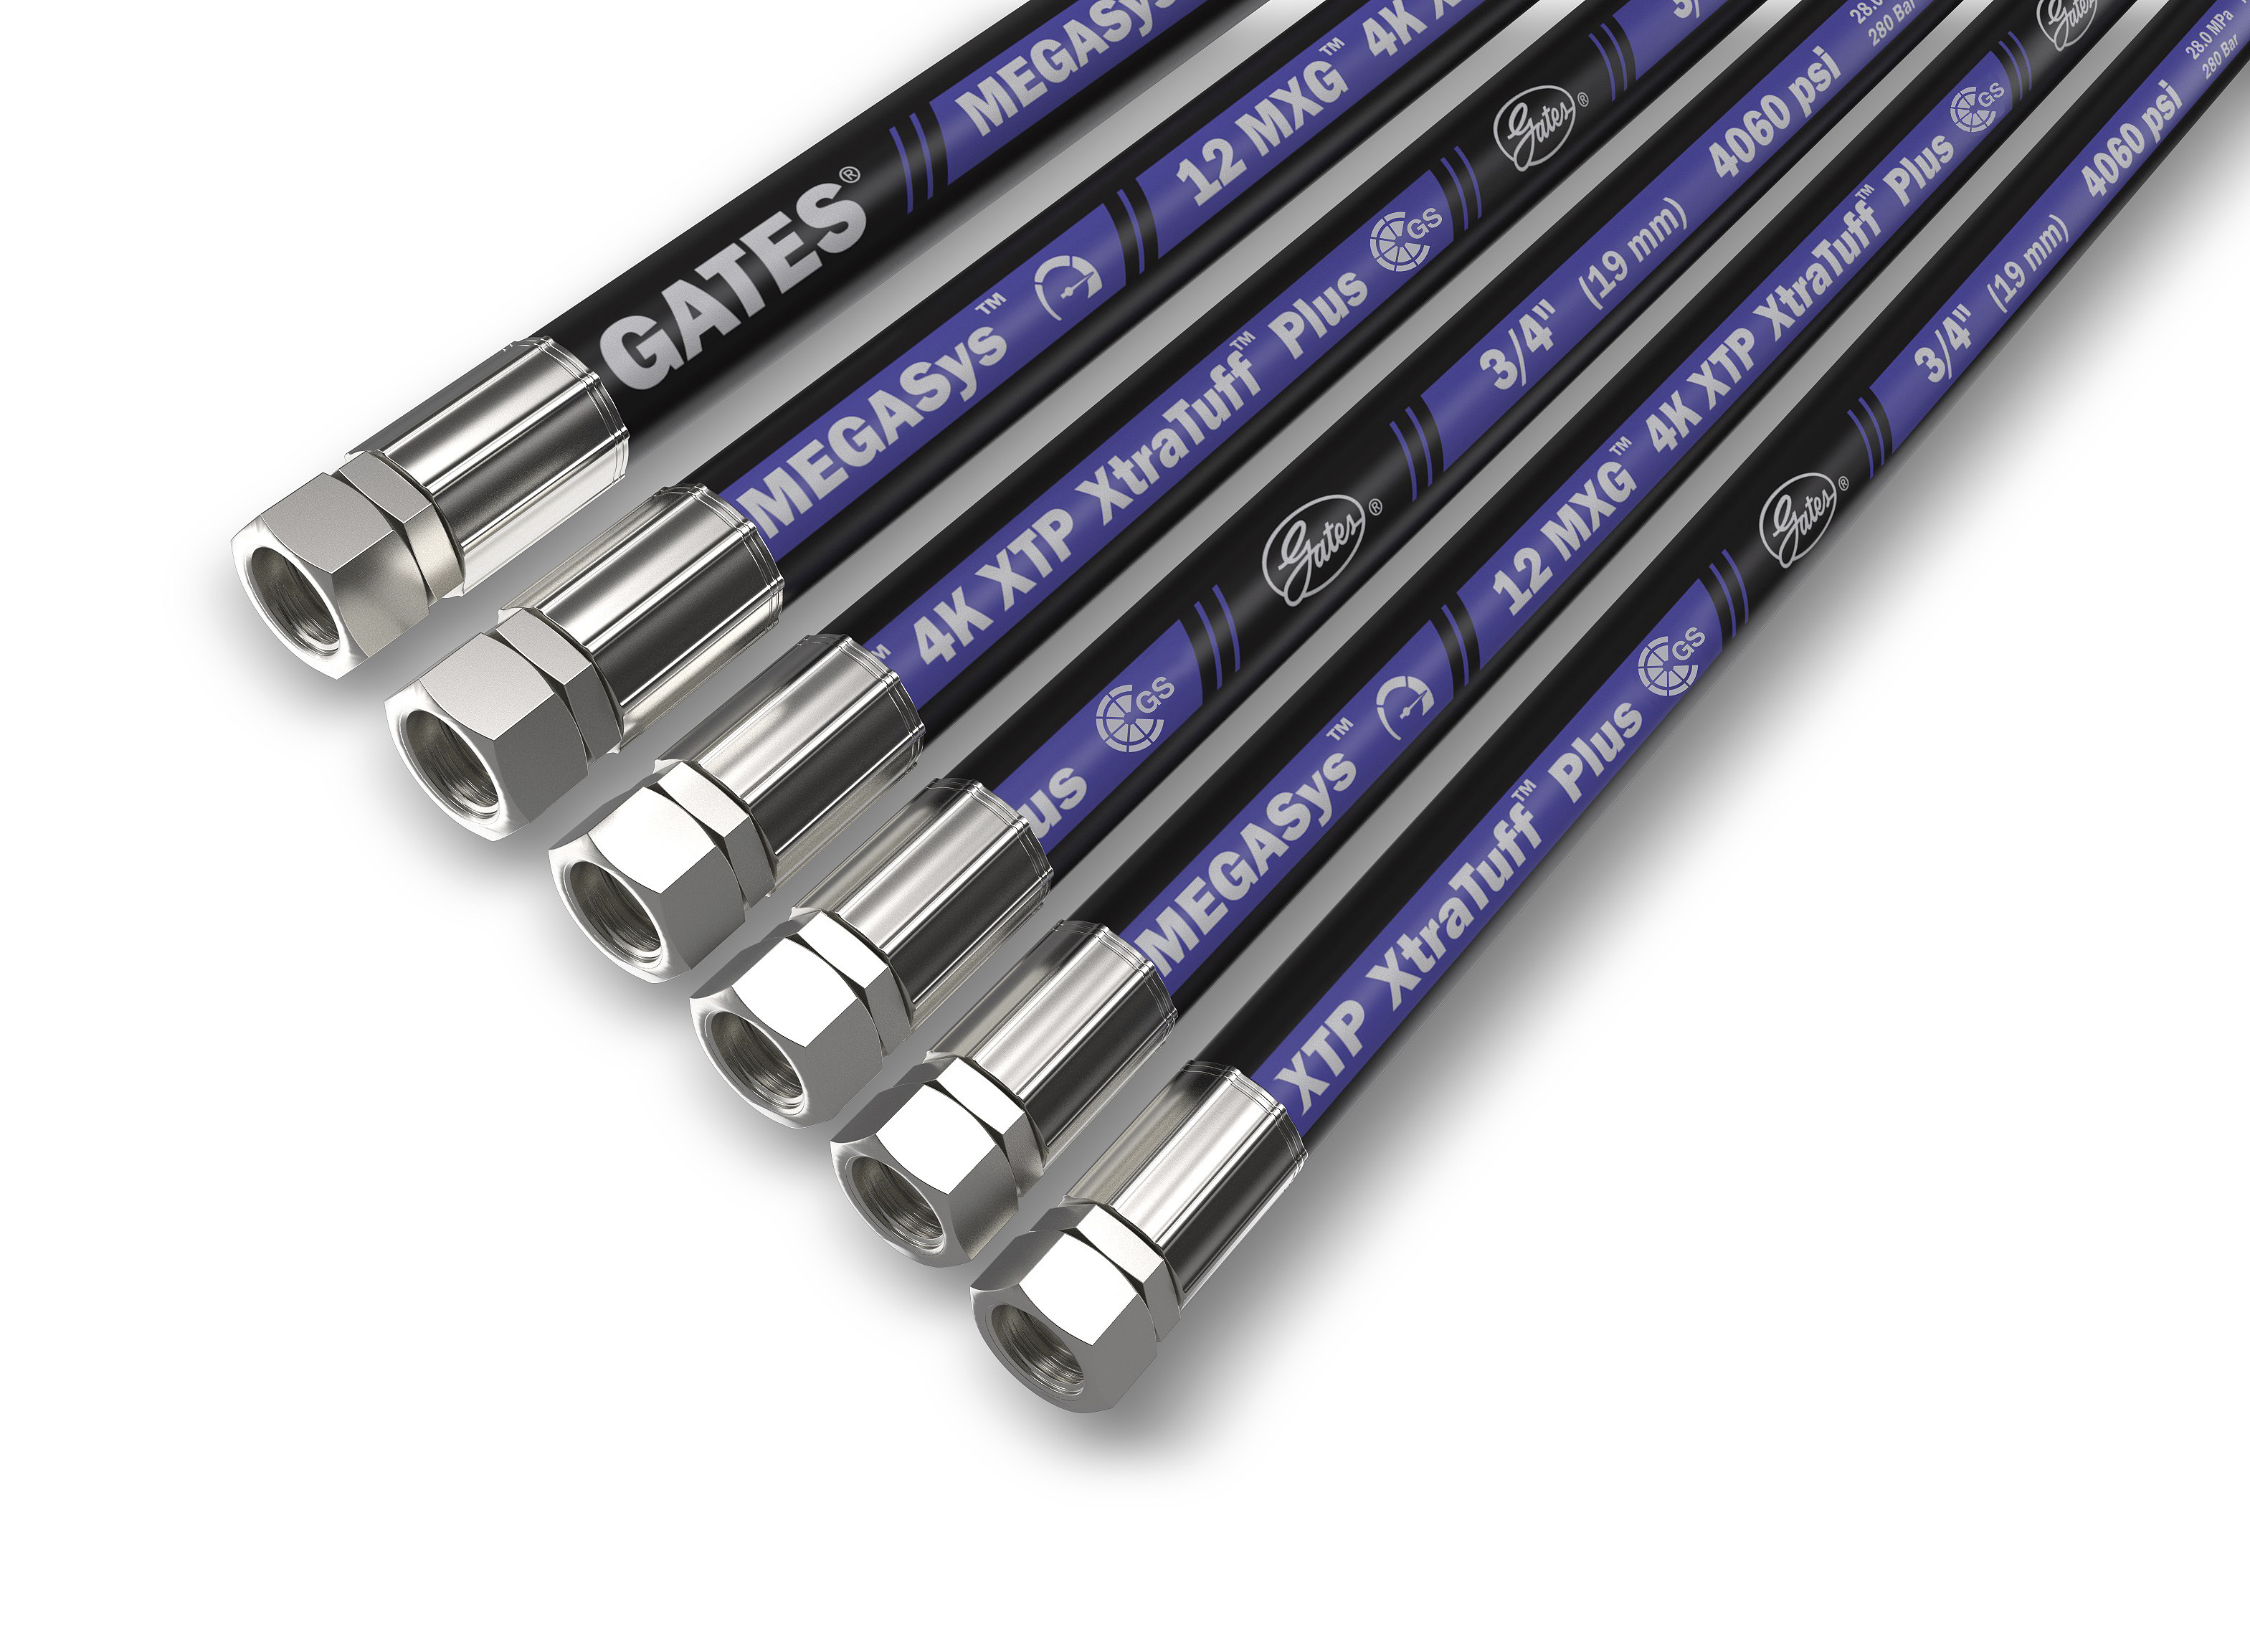
Engine coolant hose location.
Coolant hoses are located in several places around your vehicle. The upper radiator coolant hose delivers hot engine coolant from the engine to the radiator. Coolant then circulates through the radiator, and then exits out the lower radiator hose, which returns coolant to the engine. On some engines, a bypass hose circulates coolant through the engine when the thermostat is closed. Heater hoses carry coolant between the engine and the heater core. Cooling system design may vary drastically from one vehicle to another, and as a result, many vehicles will employ a number of other coolant hoses for various reasons.
Checking your coolant system.
We recommend inspecting all your coolant hoses, along with all other belt drive and system components, at 60,000 miles, and replacing them by 90,000 or at the manufacturer’s recommended replacement interval. If your coolant hoses need replacement, your professional technician can do it at the same time he’s flushing the vehicle’s cooling system.
Knowing when your hose needs replacement.
First, look on the outside of your hose — if you see any cracks, cuts, abrasions or bulges, the hose needs to be replaced. You can also feel the hose (make sure the engine is turned off and cool) — if it feels excessively soft and mushy or hard and brittle, especially at the ends by the clamps, ask your technician to inspect it immediately. You could be feeling the most common cause of wear: Electrochemical Degradation (ECD).
Electrochemical Degradation (ECD) overview.
ECD is one of the most common causes of hose wear, but is much more difficult to diagnose than standard wear because you can’t see it — the hose breaks down from the inside out. Since today’s engine components are produced using a wide variety of metals, an electrical charge may be created as dirty antifreeze continuously comes into contact with this conglomerate of different metals. Eventually, this electrical charge will discharge into the cooling system and attack the coolant hoses from the inside out, thus causing ECD. As a result, the hoses begin to break down layer by layer, compromising the integrity of the hoses until they ultimately fail.
Flushing your cooling system.
Coolant (antifreeze) protects your engine from freezing or overheating, but over time it can degrade. It’s also extremely caustic. If left in the radiator too long, the coolant will begin to corrode the metal and cause a leak because the additives in the coolant have broken down. It’s important to keep your engine clean by removing rust and scale, and preventing it from corrosion, wear and ECD — have your technician flush and fill the coolant per your vehicle’s recommended schedule.
Properly tensioning your SB clamp.
PowerGrip SB clamps are designed for installation with a heat gun, which reduces the diameter of the clamp. The highest clamping force is achieved by heating at 300° F, although in practice, this temperature is almost never used, because application time is faster with higher temperature air. That being said, Gates does not recommend installing these clamps with temperatures in excess of 900° F. Remember, heat transfer is critical, meaning you need heat and air flow to properly install the clamp.
Therefore, please reference the following tips when installing our SB Clamps:
- Do not install the clamp past the top of the pipe/fitting bead, and never install the clamp on an unsupported section of hose past the end of the stem.
- Move the heat gun around the surface of the clamp so that the most uniform heating is achieved without melting in one spot.
- Remember, the clamp will equalize from cooling system temperature while in service.
- The surface of the clamp should appear glossy and wet when heating.
- Bubbles, blisters, and holes indicate too much heat has been applied and the clamp should be replaced.
- Test the clamp for tightness on the hose after the clamp has cooled by attempting to rotate the clamp on the hose. If you can rotate the clamp, it is not tight enough and further heating is required.
Using coolant hoses for fuel or oil transfer.
Do not use your coolant hoses for unspecified applications, as the inner liner of our coolant hoses is not designed for the transfer of any fluid other than antifreeze. Any contact with other fluids will cause severe deterioration of the hose and will destroy it from the inside out. Please reference our Master Products Catalog for the appropriate hose to use with each fluid type.
Using coolant hoses for brake fluid transfer.
We do not recommend using any coolant hose for the transfer of any pressurized brake fluid. However, the Gates Safety Stripe Coolant Hose may be used for the transfer of brake fluid, but only on gravity-fed applications. In terms of automotive use, this equates to the feed hose from the fluid reservoir to the master cylinder.
Flushing the cooling system before your water pump replacement.
Always flush the cooling system prior to replacing the water pump. Contaminants in the cooling system can clog the radiator and heater core, which will lead to leaks and overheating issues. Furthermore, contaminants can adversely affect the seals and bearings in a water pump, and may cause premature water pump failure. Over time, coolant additives will break down and lose their ability to protect the components in the cooling system, which can lead to corrosion and contamination in the system. Always adhere to the manufacturer’s recommended maintenance interval outlined in your owner’s manual. Remember to always thoroughly flush the cooling system when servicing any component in the system.
How to “flush” your cooling system.
To adequately flush your cooling system, you need a special tool. Merely draining and refilling the cooling system or running a hose through it does not effectively flush the system. Additionally, the system must be flushed in three separate sections: The radiator, heater core, and engine. Each must be flushed independently to ensure the system has been properly flushed. Gates PowerClean® Flush Tool is designed to efficiently, easily, and effectively flush your cooling system.
The right coolant type for your system.
It’s important to select the right coolant type for your system. Each manufacturer develops or selects a specific coolant based on the design and specifications of the vehicle’s cooling system. There are four main types of coolant used in today’s vehicles:
- Inorganic additive technology (IAT)
- Organic acid technology (OAT)
- Hybrid organic acid technology (HOAT)
- Phosphate hybrid organic acid technology (PHOAT)
Each coolant is designed to work differently, and each OEM requires a vehicle specific coolant additive technology that is compatible with the components in that specific cooling system. If you use a coolant type that isn’t recommended, you may experience compatibility issues. Additionally, if the wrong coolant is used to “top off” the system, the original rust and corrosion inhibitors will be detrimentally affected. This can lead to a buildup of corrosion that can cause damage and unsuspected leaks in the cooling system. Remember; always replace your vehicle’s coolant with the manufacturer’s recommended coolant. Moreover, never choose a coolant based on the existing color; most manufacturers add their own dye color to their coolant and it is not standardized among OEM’s. The best way to determine which coolant to use is to refer to your owner’s manual.
Using sealant on water pump gaskets.
Sealant is not always required for your water pump gaskets, but can be a good idea on certain applications. It is not necessary to use any sealant on vehicles utilizing a metal gasket. However, if the vehicle utilizes a paper water pump gasket, we recommend using a moderate amount of sealant. The key is to not use too much, as excess sealant can enter the cooling system and contaminate it. In any case, make sure the sealing surfaces are free from dirt, debris, coolant, and any old gasket material before installing a new water pump and gasket.
All Gates water pumps come with a gasket and/or O-Ring.
Fuel System
Barricade Carburetion vs. Fuel Injection Hose.
The Barricade Carburetion Hose is a low-permeation fuel hose for carbureted engines, PCV and EEC systems, and for fuel return hose on fuel injected systems. Carburetion Fuel Hose is intended for use on low pressure applications, and has a working pressure of 35-50 PSI depending on the inside diameter of the hose.
Alternatively, Barricade Fuel Injection Hose is a low-permeation fuel hose for use on all fuel systems, including fuel injection. With a working pressure of 225 PSI, the Barricade Fuel Injection Hose is the perfect solution for all your fuel injection hose needs.
Both hoses are highly engineered and designed to work with gasoline, diesel, bio-diesel (including SME, RME and PME), methanol, ethanol, ethanol extended gasoline, and gasohol fuels. Additionally, both Barricade Carburetion and Barricade Fuel Injection hose are EPA and CARB certified. We also manufacture a full line of Coast Guard approved Barricade Fuel Line for all your marine fuel hose needs.
Submerging your Gates fuel line in fuel.
Only our Submersible Fuel Line Hose can be submerged in fuel. Do not use Submersible Fuel Line anywhere but in the fuel tank.